How to create your music video.
Introduction
Creating a music video can help you promote yourself or your band through social media channels such as Instagram, TikTok, YouTube, Facebook, VEVO, and more. Contrary to what you may think, a music video doesn’t need to cost a fortune. What’s most important is that you have a good idea, a good team, and a well-defined budget.
If you’re worried about cost know that some production companies charge a fortune for even the simplest promotional videos, if you are willing, give an up-and-coming filmmaker or producer a chance, they will often do it at a low cost because they just want to work with someone who can provide the opportunity. A lot of big-name production companies and directors will fluff up the price because they know they can, but an up-and-coming filmmaker will not. They just want to work with a communicative client who understands their value.
Before you begin producing your music video, it is important to plan and consider a few key things. Here’s a step-by-step guide on how to make a music video.
Choosing the Right Song for your Music Video
While it might seem like the best idea to simply make a video for your next upcoming single, that may or may not make the most sense. Here are a few other factors to consider when choosing a song:
Think ahead or recycle an old song. It will take longer than you think to shoot, edit, and produce a music video. If the song is three minutes or longer, your “new” single might already have come out by the time you’ve published your video. Instead, consider selecting a song that has done well in the past or use a single that is planned for release in the future, after you plan to publish your next single.
Don’t merely think in terms of a “single.” In these days of Internet streaming, any track can be a single. Therefore, you might pick a track from an album that you had a great music video idea for in the past, even if that track wasn’t originally planned as a single.
You might want to start small. For every minute of a song in a music video, it can take you and your crew anywhere from 2-10 hours of shooting, editing, and finishing. The longer you take, the greater your risk of abandoning the project.
Music videos should be authentic expressions of the song’s creators. Even the best filmmakers struggle to put a good video together if the band or artist does not feel inspired by the lyrics and sounds of the song they’ve selected.
If the song is not yours, consider copyright costs. Do not assume that you can use a song that’s not yours. However, if your budget permits your band to produce a video for a song from someone else, that does not already have a video or single out on it, get the paperwork in place to move forward legally.
Find a Location
KNOW YOUR SCRIPT
Don’t put the cart before the horse. While you may feel inclined to go location scouting before you have a script it’s best to wait. You don’t want to show up on set and realize that the pivotal window shot can’t happen because there isn’t one.
CREATE A LIST OF “MUST-HAVE” FILMING REQUIREMENTS
It is extremely important to have a clear idea of the features and requirements you are looking for when searching a venue to shoot your music video. This approach will save you a lot of time and will ensure you won’t waste precious energy touring locations that do not work for you. Make sure you create a list of “must-have” requirements to share with your location scout, venue booking agency and venue owners / managers and make sure the space meets all of your requirements before setting up a time for a walk-through.
Start by looking for venue options online
While having an official location scout is still necessary for big budget productions, you may be able to virtually scout a location. Using this approach is also useful for doing a preliminary look before you go and see a location in-person.
Venue Booking Agencies such as PIOVRA GROUP can help you narrow down your research and present you with targeted venue options that work for your needs. You can check out their filming locations online and set up a time with their team to tour each space in person
SET UP A TOUR AND TAKE A LOT OF PICTURES
It almost goes without saying, but touring a location before the day of the shoot is a must. While you’re location scouting take along your phone to capture pictures of your location that you can share with your producers, lighting director, sound recordist, set designer, and anyone else who will be a leader on set.
Make sure to take a director’s viewfinder with you so you can see how your location looks at various focal lengths. This is critical. Eyes can be deceiving, so by purchasing a cheap director’s viewfinder you can get a better idea as to what the location will look like once you get your camera on location.
While you are at a potential location there are a lot of questions you need to be asking including:
- Is there power?
- Is this location near any airports?
- Do I need a person to let me into this location?
- Where are the breaker boxes?
- Is the neighborhood safe? (Seriously, I’ve got stories…)
- Will there be a place for the crew to set up equipment?
- What’s the parking situation like?
- Are there any events scheduled for your shoot day?
- Does this location cost money?
- Is there a bathroom?
It’s also very important to understand what the lighting is going to look like at the time of day you will be shooting. Your location may look perfect at 10 am, but come 5 pm you might be dealing with shadows from trees, buildings, or electricity poles. This is why it is best to location scout at the time in which you will be shooting.
Casting the Film Crew and Getting Equipment for your Music Video
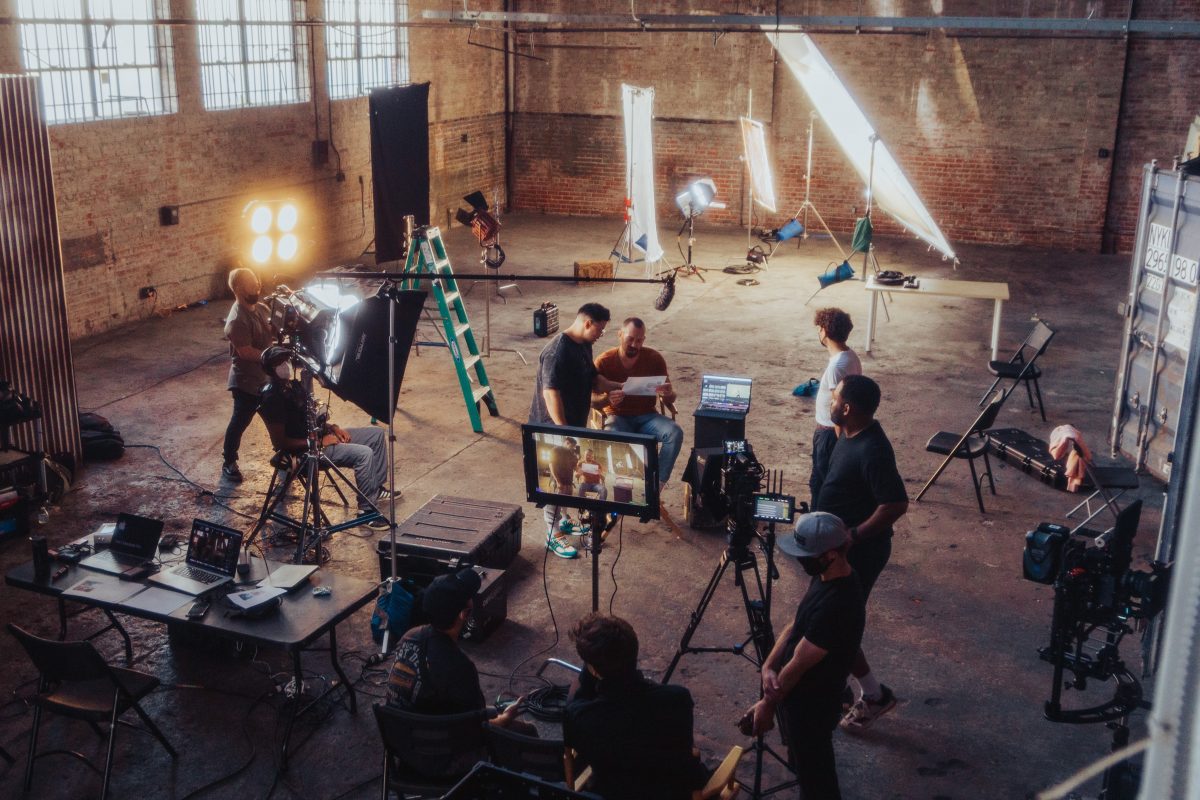
However complicated (or simple) your shoot is, you’ll need a team. If you have a team, everyone should be clear on what they are responsible to accomplish. Here are some of the roles that you will need to fill:
Micro Budget $500-1,000
Band members: This should be obvious, but make sure that all your members are on board and able to commit to their scheduled shooting days.
Director: Will work with Actors, Crew, and other individuals on set to ensure the film matches your creative vision for the final production. On these lower-budget shoots, Directors are Camera Ops as well as lighting etc.
Editor – Responsible for taking the footage and cutting it into a video that represents the Artist’s vision.
Low Budget $1,500-3,000
Camera Operator – Responsible for managing camera and equipment as well as capturing and recording all aspects of a scene.
Director of Photography – Responsible for working with the director and producer so that the camera helps tell the story and to help design and shape light to fit the mood of your visuals.
Camera Asst. – Responsible for maintaining camera focus on the subject during
Grip – Responsible for setting up, rigging, and striking lighting equipment on set.
Gaffer – Responsible for light placement; managing the electrical equipment and lighting instruments for each shot.
Actor/Dancer(s): the number of individuals varies based on what kind of video you seek to create.
VFX Artist – Responsible for adding titles, transitions, tracking, or any special effects that you weren’t able to do practically in production.
Medium Budget $5,000-10,000
Once you get to this mark you pretty much have a small feature film-worthy crew, as the budget goes up these departments get more and more staff making them more and more effective. This is also when you might want to start thinking about hiring a professional producer. They will essentially handle everything for you.
Producer – to recruit negotiate, supervise and manage your crew. This person also helps with the choice of imagery, locations, talent, and style.
Other crew members, you might bring on as the budget goes up is:
Location Manager | Asst. Director | Production Asst. | Steady Cam Operator | Drone Operator | Stylist | Makeup | Hair | SFX | Prop Master | Art Director | Set Designer
Now depending on your needs, you may mix this list up a bit but basically, this is a brief rundown of how I look at a music video production under $30k.
As you build your team, consider their individual needs. If you’re shooting through mealtimes, be prepared to provide food. If you are shooting all day, or for several hours, encourage the crew to take breaks.
If you have less than 10k to invest into your video than it’s best to recruit a team that can provide their own equipment. If you’ve hired your crew but still have to rent equipment yourself, then you’ll want to get the best that your budget allows.
Why doesn’t the Director or crew have everything?
Sometimes what you want in your video is done with the equipment your crew doesn’t have. Unless we filmmakers use it often we will just rent gear per shoot. I for one was always renting Red Cinema Cameras, so I bought one, then two, and so on. Now, do I own a micro-probe lens? No… Because I don’t use them that often. Even though prices have come down in recent years, buying a camera, lights, and gear will still set you back a small fortune. So, renting gear is usually the best bet. If you are getting your own crew together it’s best to find crew that has gear, you may have to pay more for the crew member but he or she will come ready to go the day of.
Grip Van/Truck
If you can afford it we suggest acquiring even a small grip van. For those that don’t know, a grip truck is a vehicle designed to carry film production gear such as lights, stands, and modifiers. Most of these trucks are just standard vehicles that have been specially outfitted to carry this equipment. The goal is to make the equipment quickly and easily accessible to the crew working the job. On most film sets, the days are scheduled in such a way that everyone must work quickly in order to get the shoot done. Now if you packed a small car to the brim with equipment, chances are you’d need to unload everything just to get the last piece of gear out. With a grip truck, this is not the case. Most of the equipment on these trucks is on carts that quickly and easily come off on carts.
Video production shoots can be quite chaotic. There are often numerous pieces of equipment needed by multiple departments at one time. Without a system in place to get everyone their gear, it’s likely that the shoots would be much longer than desired.
The great thing about grip trucks is that while there isn’t necessarily a standard kit that every grip truck has, they all pretty much have the same equipment. There are different sizes(with different gear) depending on your video production needs. Once you have your idea and crew, talk to your director or producer about having a Grip Truck on the day of filming.
Planning the Shoot
Wasted time can cost you more money or sour relationships (where you called in favors). Most film crews who do more “hanging out” rather than working, are simply responding to the lack of planning. So work with your Director and take a few minutes (or hours) to think through how this music video will be filmed.
It is customary to work with your director to build storyboards for each shot. This will ensure that you don’t miss anything and that you can describe to your crew what you need. Feel free to download a template to work with from our downloads section. With the template printed out sketch out each scene in the box and describe the scene underneath use as many pages as necessary.
After completing your storyboard, revisit your original plan for crew and actors, and make a list of the equipment and casting you need for each shot. This is when you and your Director or Producer will make sure you and the crew have all to tools and support needed to film or this is where you’ll cut some ideas. It’s all based on budget and resources.
Ideally, you’ll have an Asst. Director but if you don’t, you and the director should also create a schedule that identifies who is needed when, and where. Most importantly, make sure that your camera and lighting crew know what your expectations are for each scene. The director can then handle the meetings with crews, scheduling, etc.
Filming your Music Video
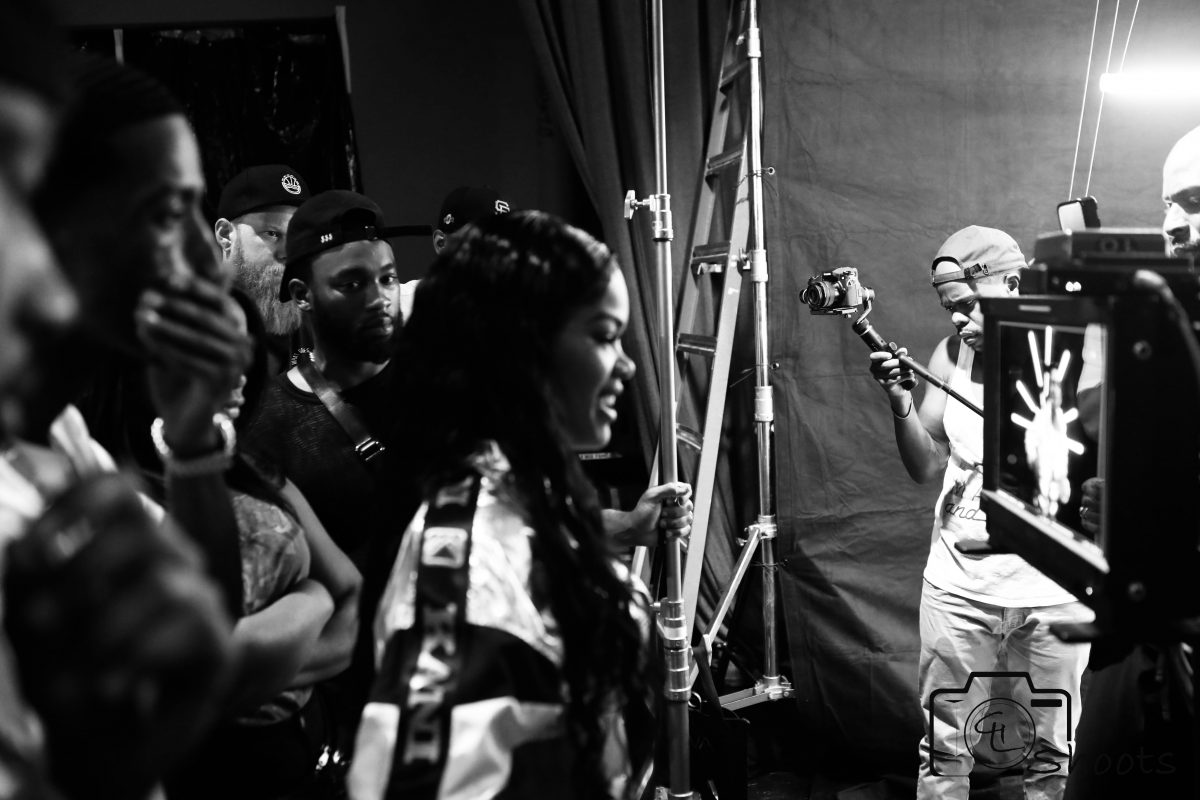
On the day of shooting, be focused and stick to the plan. You should have a schedule, a shot list, and a Call Sheet. Keep a careful record of the shots you’ve made for the sake of editing. Always allow plenty of time for shooting. Even though the finished scene may only last 10 seconds, it could easily take several hours to set up and shoot. That said, don’t get so preoccupied with getting the “perfect” shot that you take six hours on one shoot and have only six hours left to finish the remaining 15.
Ideally, you’ll have several good takes for each scene. You can never have too much footage, and the retake may capture something that you hadn’t noticed the first time around. While it is never a good idea to deviate from the storyboard, there are extra things that the crew can do to provide a nice touch to the available footage.
For example, if you have more than one camera, ask the “idle” camera person to keep shooting from other angles (not in sight of the main camera) or in between scenes. This technique often affords golden footage that you didn’t realize you could get. Additionally, some of the best shots might be candid moments with the set and crew.
Capturing Live Footage for your Music Video
Filming the band or an artist playing live is a way to get some great footage for your music video. Filming at a gig will mean you’ll be able to capture the live energy and interaction with the audience.
However, if you’re planning on shooting the entire video with live footage, you will need professionals experienced with live filming as this can be extremely difficult to do well.
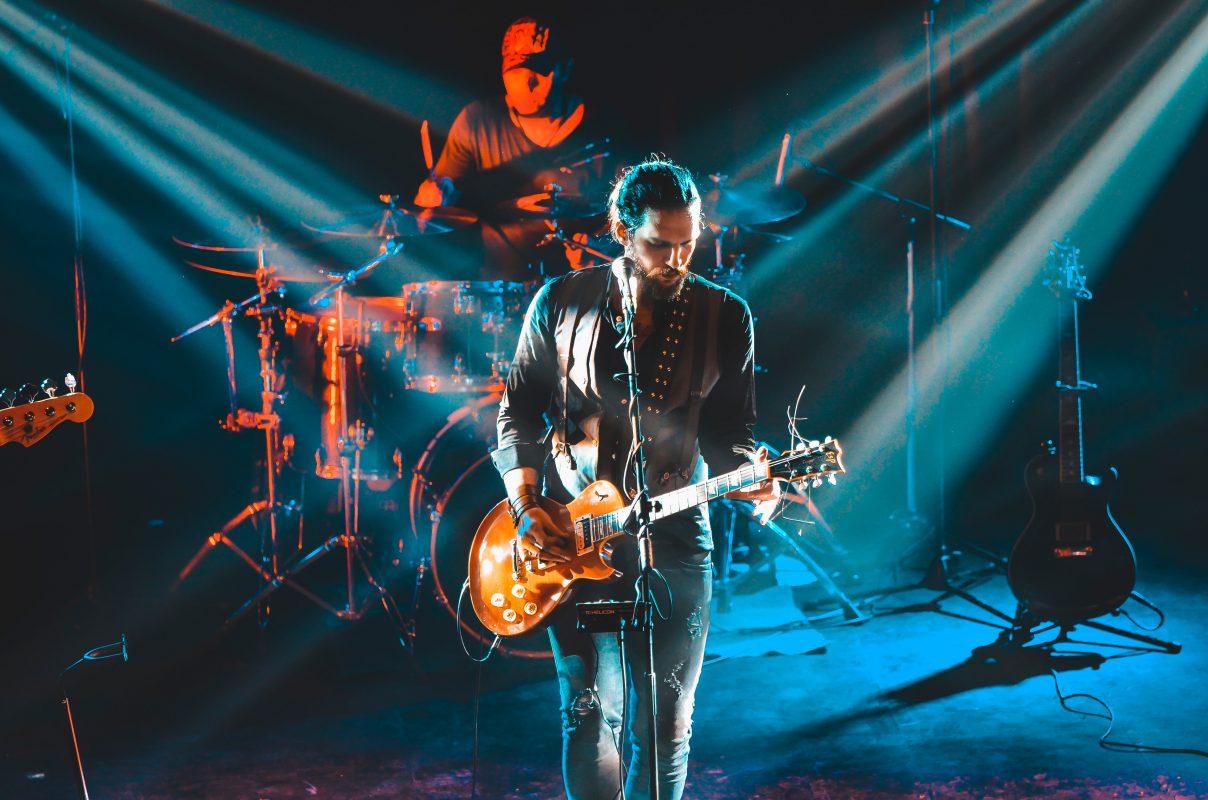
A much better solution for someone creating their first music video would be to capture some live footage and mix it in with the other footage. Here are a few unique challenges to consider when filming live:
The band or Dj will only play the song once, so you’ll only have one chance of capturing the right footage.
The live version may differ considerably from the recorded version, so syncing the footage with the audio track could be problematic.
The movements of the band/artist, and particularly the audience, won’t be choreographed. As such, you and the director can’t expect the audience to meet your expectations. On the other hand, these reactions are genuine, and if you capture a genuine reaction that is positive, you’ve got great footage.
The lighting and effects may look great to the audience but may not look great on camera.
Your filming may interrupt the band’s performance. Make sure that the band members are on board and that the venue is large enough for there to be as little interference from filming as possible.
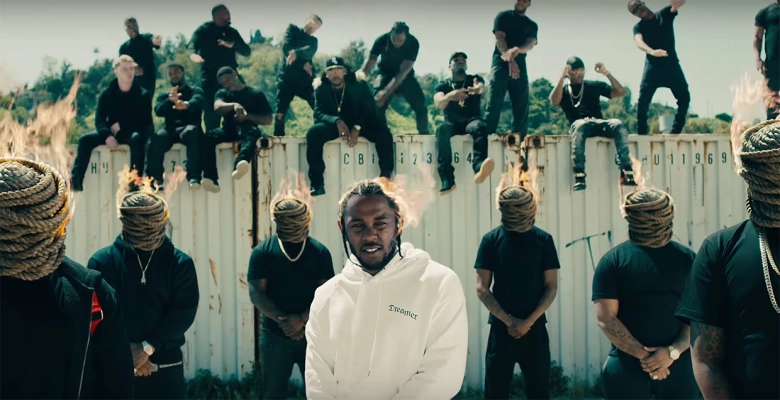
One technique to guarantee that your live footage syncs to a video is to “stage” a live performance in a studio setting. Get the band/artist to play along (or mime) to the track in front of an audience of selected friends or fans. By doing “live” footage in this way, you can control the lighting and people’s movements, and get the track played as many times as you need. In hip-hop, you’ll see that iconic shot of the one dude and all the homies from the block behind him. This not only provides “social proof” but also is very easy to orchestrate.
Using Stock Footage
You can spice up your video by adding stock footage, but you’ll need to be aware that almost all video footage is subject to strict copyright law. Making use of footage without the copyright holder’s express permission is illegal.
However, there are also sources of footage that you can use legally. Royalty-free footage is footage you can reuse in any setting, without asking permission or paying the copyright holder a fee each time you use it; but you may have to pay a fee to obtain it in the first place. Lastly, there are several free stock and royalty-free sites to check out before paying for stock footage. My favorite so far is Envato Elements.
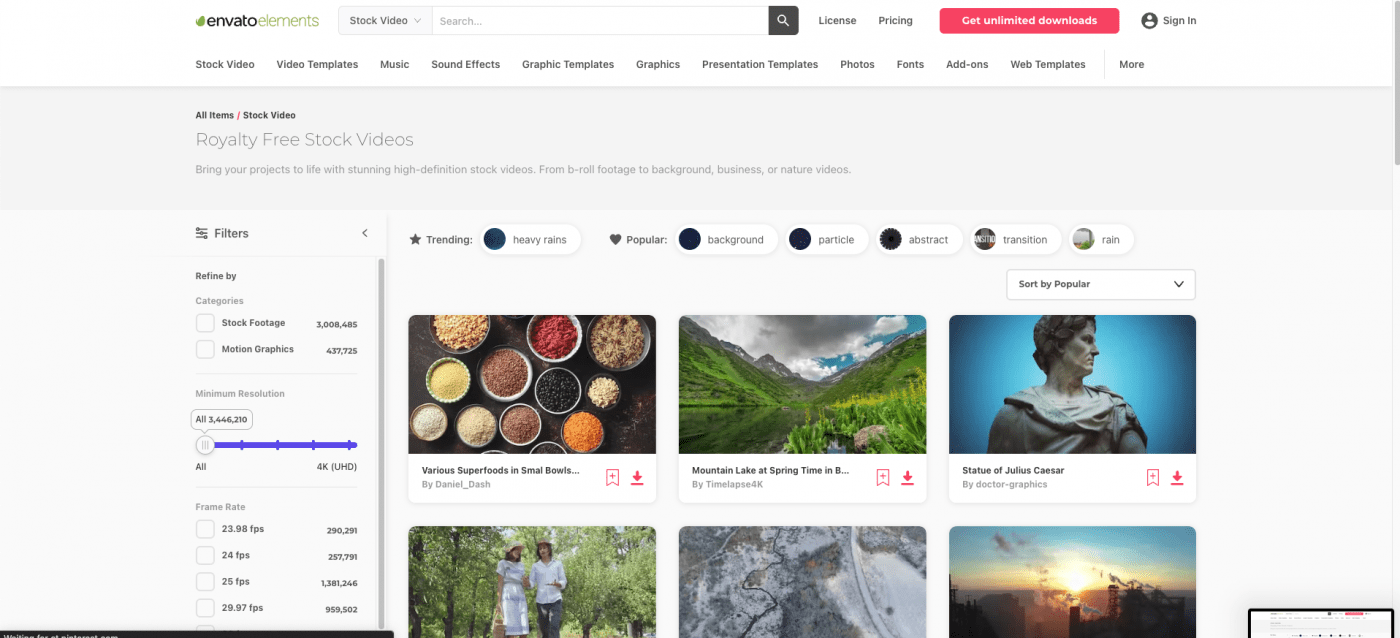
Additionally, there is increasingly more footage made available under creative commons licenses—original material that the copyright owner has entered into the public domain with certain conditions attached. Often, the only condition is that you properly credit the source or creator.
My trick for using stock footage is if it’s heavily effected, or I’m shooting with a high-quality camera, I’m sure you’ve seen videos where the B-roll looked a little too good. This will help you avoid that.
Using the Right Video Editing/Finishing Software
These days, relatively inexpensive or free software can do a decent job of video editing:
The basic video software for Apple users is iMovie. If your editor is using that…RUN
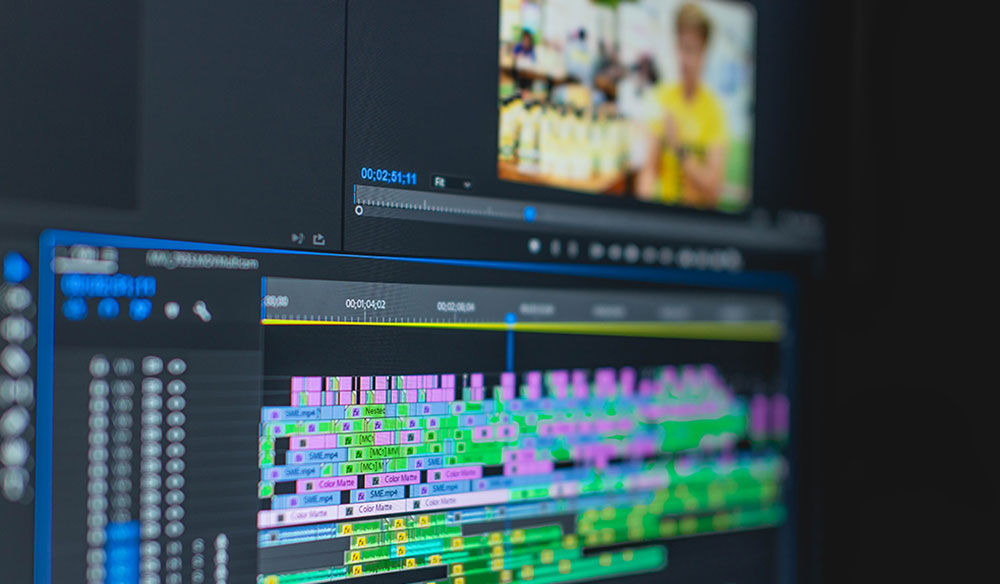
For Professional users, Adobe’s Premiere, Final Cut Pro are programs your editor will use.
If you’re doing more effects-based editing then After Effects, Blender, and Unreal Engine might be programs you’ll be talking about. And finally, if you’re dealing with a colorist, they will tend to use Davinci Resolve.
The judicious use of effects can set your video apart. Much of this will depend upon the capabilities of the video editing software you use.
Most computers and digital devices should be capable of editing film footage though a good rule of thumb is that the higher the quality the footage the more space and computing power it will take up to handle. Investing in a fast if possible solid-state external hard drive to store your video footage on is not just a good idea it’s mandatory.
The output format will depend on its destination (where you want your video to end up). Low compression formats are best for streaming because websites like Youtube compress your video no matter what size, feeding the site a 20GB video and having them compress it down to 5GB is better than compressing it down to 5GB and having them compress it again to 1GB, every time you compress you’re cutting something out.
Being Creative
A strong dose of originality will allow your video to connect with thousands of people, regardless of your budget. On the flip side, don’t overdo it. A simple idea, well-executed, is always more effective than a complex idea, done poorly.
Key Takeaways
Avoid Using Excessive Special Effects: A good video isn’t a showcase for how many effects you or your editor can master. It’s usually better to use a couple of effects throughout the video to create a certain feel; rather than use as many effects as you can to make a video exciting.
Think About Adding Sound Effects: A dramatic music video may be enhanced with some additional sound effects. If your video begins with someone walking down the street, you could add the sound of footsteps, or ambient street noise, over the intro.
Thank you for taking the time to read my latest blog post. As a filmmaker dedicated to helping artists reach their full potential, it means a lot to have your support. If you enjoyed this content, make sure to subscribe to my blog for more insights on music video production and promotion.
